
 |
To manually invoke the setup program, do the following:
|
|
| The setup program does not detect or configure an APPC communications
subsystem; as a result, the setup program will not automatically configure
your DB2 server to support APPC.
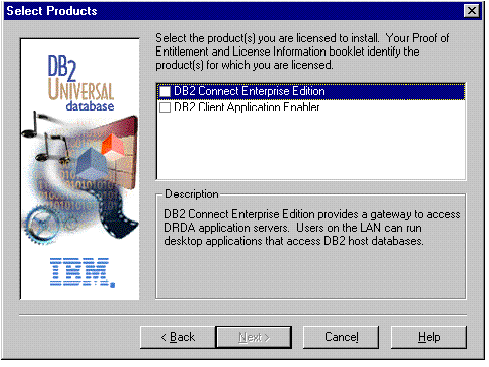
If you want to set up your DB2 server to support inbound client requests using APPC, you must perform a Custom Installation. The setup program will allow you to select support for APPC and provide the required DB2 parameters; however, it cannot configure the APPC communications subsystem. To configure the APPC communications subsystem, see Chapter 11. "Configuring Communications to Host and AS/400 Databases Manually". |
 | Typical Install: Installs those DB2 components that are used most often, including all required components, ODBC support, documentation, and commonly used DB2 tools such as the Information Center, the Client Configuration Assistant, and the Control Center. The DB2 instance and the Administration server are created and customized to use the protocols detected on your system. |
|
| |
 | Compact Install: Installs only required DB2 components and ODBC support. The DB2 instance and the Administration server are created and customized to use the protocols detected on your system. |
|
| |
 | Custom Install: Installs only those components that you select. The DB2 instance and the Administration server are created and customized to use the protocols detected on your system. The default for a Custom install is to install those components and subcomponents you would get in a Typical install. |
| Note: | You cannot selectively uninstall components after the setup program completes the installation. |
| Note: | If a DB2 Version 5 product is already installed on the workstation, you must install the product on the same drive and in the same directory. |
You can click on the Cancel push button at any time to end the installation.
- Click on the Start button and select Settings->Control Panel.
- Double-click on the Network icon.
- In the Network window, select the Bindings tab.
- From the Show bindings for: drop down box, select All Adapters
- Double-click on adapter for which you want to see the bounded protocols
- Ensure that DLC is enabled. If it is not, click on the Enable push button to enable the to bind the network adapter to the communications subsystem.
This completes the installation.
The installation program has:
- Created DB2 program groups and items (or shortcuts).
- Registered a security service.
- Updated the Windows registry.
- Created a default instance named DB2, added it as a service, and configured it for communications. If you selected to Automatically start the DB2 instance a boot time, the service's startup type was set to Automatic; otherwise, it was set to Manual.
- Created the DB2 Administration Server, added it as a service, and configured it so that DB2 tools can administer the server. The service's start type was set to Automatic.
