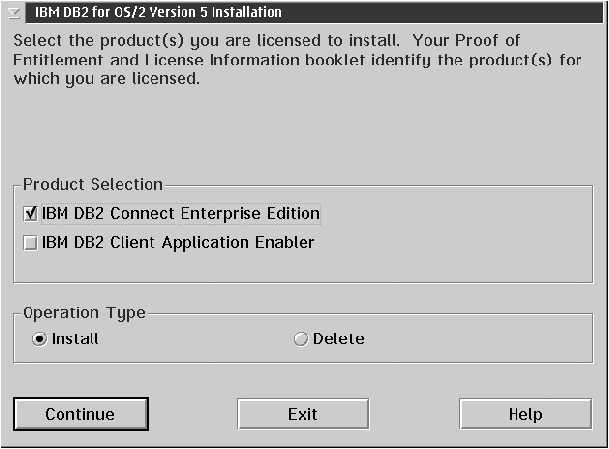
- If you have the OS/2 Warp Server installed, double-click on the
Server Installation icon located in the Server folder on
the desktop.
OR
- Open an OS/2 windows and set the drive to x:, where x is the letter that represents your CD-ROM drive.
- Set the current directory to \db2\language\install, where language is the two-character country code that represents your language (for example, EN for English). Table 47 lists the code for each available language.
- Enter the command install.

You can invoke the install command with optional parameters to create error and history log files. See "Step 3. Run the CMD File from the Remote Workstation" for more information.

- If you want the config.sys file updated, click on OK. A backup copy of your existing file is kept as config.0xx.
- If you do not want the config.sys file updated, clear the Update CONFIG.SYS check box and click on OK. You will need to manually update your config.sys file with the values that are stored in the config.add file that will be created in the root directory of your boot drive.
For the Install - Directories window, complete the entries as follows:
- Select each of the components you want to install.
- Click on the Descriptions button for a brief description of the selected components.
- In the File directory field, type the directory where you want
the product installed. The default value is c:\sqllib.
Note: If a DB2 Version 5 product is already installed on the workstation, you must install on the same drive and directory. - Click on the Disk Space button to see how much space you have on each of the drives on your machine and to change disks if necessary.
- Click on the Install button to continue.
Click on Next to accept these values. If you want to override the detected protocols or the generated values, you can do so for either the DB2 instance or the Administration Server, or both. Refer to the online help for this panel for more information.
You can also choose to have the DB2 instance started automatically when your system is started; this is the default. If you do not want the DB2 instance started automatically, clear the Auto start DB2 instance at boot time check box.
- UPM administrator authority on your system.
- UPM local administrator authority on your system.
If UPM is not on your system, it will be installed as part of the DB2 installation and the user ID and password you supply will be set up with the appropriate authority. Click on Done to continue.

